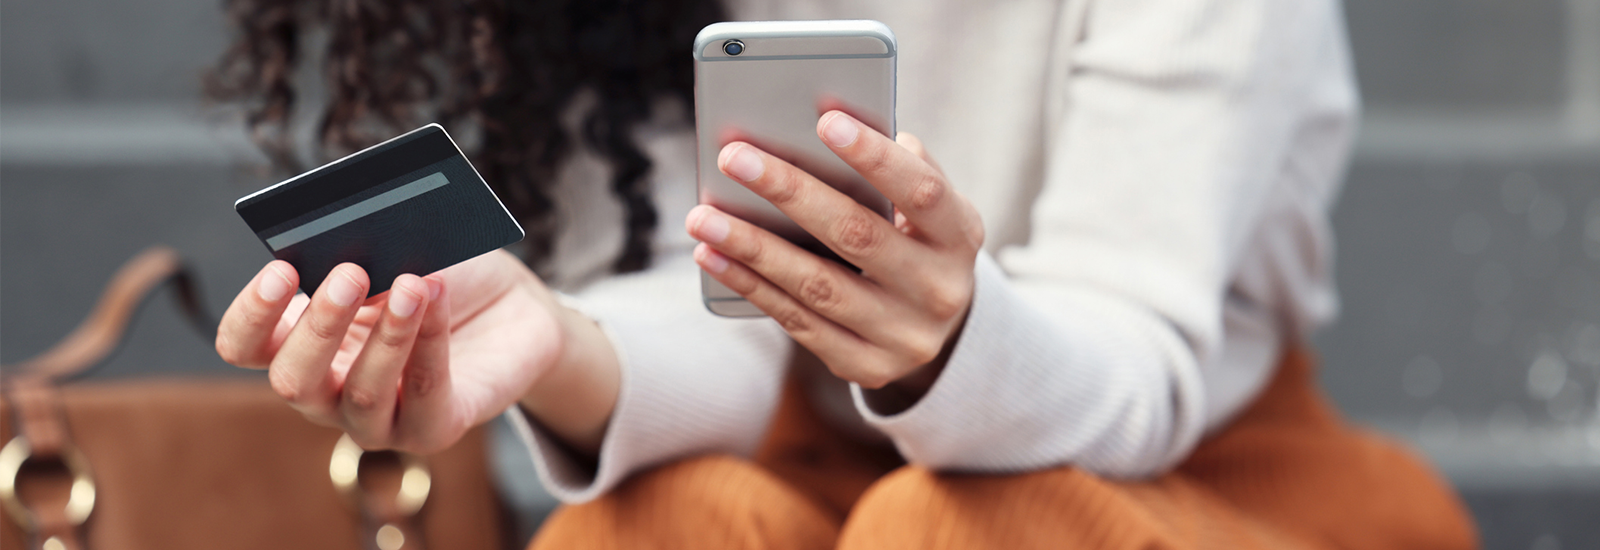
Mobile & Online Banking
- Modern, more consistent look and feel across all your devices to simplify how you manage accounts and move money
- Enhanced security to keep your money safe and your peace of mind secure
- A more personalized experience – easily arrange your dashboard in a way that makes the most sense for you
Helpful Videos to Get Started:
Two-Factor Authentication (2FA)Online:
Mobile:
Account Basics
Personalize Your Dashboard:
Transfers
Alerts
Frequently Asked Questions about Mobile & Online Banking:
What is Two-Factor Authentication (2FA)?
2FA is a security method of confirming a user’s identity by requiring two of three pieces of evidence. In order to successfully access your accounts, you will need to provide something you know (like a PIN or password), something you have (like your phone), or something you are (like Face ID and thumbprint ID). This makes your app and online banking more secure than with only one password.
2FA is a security method of confirming a user’s identity by requiring two of three pieces of evidence. In order to successfully access your accounts, you will need to provide something you know (like a PIN or password), something you have (like your phone), or something you are (like Face ID and thumbprint ID). This makes your app and online banking more secure than with only one password.
- Mobile example – when you first sign in to your new app, you will have to use your password and then will enter your phone number to be sent a code. After you have been successfully authenticated you will have the option to set up a PIN and/or FaceID or thumbprint ID.
- Online example – When you log into your online banking with your username and password, Banno Online will ask you for your email and phone number. After you enter this information a code will be sent to the phone number provided (via text message or through a live call) that you will use to prove your identity and get logged in.
Why do I have to use 2FA?
Your security is our top priority, and 2FA gives you more security. With 2FA, you can track which devices are logging into your account and any changes.
Do I have to go through 2FA every time I log in?
You will have to go through the 2FA process when using a new device to log in, including a new browser, computer or phone. This will also be required if your browser is set to clear all history after closing out of it. 2FA will not remember that the browser has been used previously because the history has cleared. In this case, you will have to go through the 2FA process each time you use the browser, regardless if you’ve used it before.
Which accounts can I view?
You can view as many or as few accounts on Online Banking as you wish to have available. Link checking, savings and investment accounts, loans or CDs for free access anytime, anywhere.
You can view as many or as few accounts on Online Banking as you wish to have available. Link checking, savings and investment accounts, loans or CDs for free access anytime, anywhere.
How do I transfer funds?
You can do an internal transfer a few different ways:
You can do an internal transfer a few different ways:
- From the Main Menu (on left-hand side of screen)
- Choose "Transfers"
- In the upper left-hand corner choose "Make a transfer" and follow the prompts
- Choose "Transfers"
- From the Dashboard, choose the blue "Transfer" button below your accounts listing
- From an account, choose the blue "Transfer" button in the upper right-hand corner of the screen
Choose to do an immediate, scheduled or recurring transfer by choosing "More options" on the transfer screen.
How do I place a stop payment on a check or an electronic payment?
From your dashboard in the Online Banking platform, select the account you would like to create a Stop Payment for. Once in the account view, select the blue "Stop Payments" button and follow the prompts. Be sure to read the important information about Stop Payments, and enter the required information.
From your dashboard in the Online Banking platform, select the account you would like to create a Stop Payment for. Once in the account view, select the blue "Stop Payments" button and follow the prompts. Be sure to read the important information about Stop Payments, and enter the required information.
Mobile Check Deposit
How do I request enrollment?
- Log in to the Royal Bank Mobile App :
- Navigate to the "Deposit Checks" menu option under the app menu to request enrollment
- Navigate to the "Deposit Checks" menu option under the app menu to request enrollment
- Contact us:
- Call or stop into your local office location or submit a contact us form online
- Call or stop into your local office location or submit a contact us form online
How long will it take for someone to get back to me once I enroll?
Once enrollment has been requested, a Royal Bank representative will contact you by email within three business days to confirm enrollment and provide further instruction.
Once enrollment has been requested, a Royal Bank representative will contact you by email within three business days to confirm enrollment and provide further instruction.
How do I make a deposit?
Log into the Royal Bank Mobile App and navigate to the “Deposit Checks” submenu:
Log into the Royal Bank Mobile App and navigate to the “Deposit Checks” submenu:
- Tap on the "Deposit a Check" button
- Complete the requested information
- Enter check amount
- Tap "Front of Check" to take a photo of the front of your check
- When taking photos of checks, ensure you are using a well-lit surface, free from documents or paperwork.
- When taking photos of checks, ensure you are using a well-lit surface, free from documents or paperwork.
- Tap "Back of Check" to take a photo of the back of your check
- The check must be endorsed with "For Mobile Deposit Only" and your signature to be processed properly
- The check must be endorsed with "For Mobile Deposit Only" and your signature to be processed properly
- Enter check amount
- Choose the account you wish to deposit to
- Enter the exact amount of the check
- Review the information and choose "Submit" to send your deposit to the bank!
Tips:
- Checks MUST be endorsed with “For Mobile Deposit Only” and your signature
- When taking photos of checks, ensure you are using a well-lit surface, free from documents or paperwork.
- Keep original check for sixty (60) days after depositing
- Deposit multiple checks individually
- Deposits received after our regular business hours will be deposited the following business day
- There is a limit of ten (10) deposits per day, per account
Bill Pay
How do I enroll in Bill Pay?
Can I edit my payment?
- Log into your Royal Bank Online Banking account from a PC
- From the menu (=), choose "Bill Pay"
- You will be prompted to enter your Online Banking password
- Review and accept the Terms and Conditions
- Follow the prompts and complete the required fields
- Log into Royal Bank Online or Mobile Banking account
- From the menu (=), choose "Bill Pay"
- Choose the "Payees" menu
- Choose "Add a payee"
- Enter your Online Banking password
- Click "New Payee" at the top of the page (Online) or the "+" sign in the Payees area (Mobile app)
- Select if the payee is a company, person or financial institution
- Complete the required fields
- If your payee does not match any of the electronic payees in our system, you will need to fill out additional information about the payee
- In this case, payments will process as a paper check
- If your payee does not match any of the electronic payees in our system, you will need to fill out additional information about the payee
- To pay a single bill, select "Make a Payment" from the activity listing
- Choose the payee you wish to pay
- Choose the account to pay from and the amount to pay
- Select "More Options" to choose frequency (one-time or recurring), schedule a payment or add notes to the payment
- Once your information is entered, choose "Submit" to submit the payment
- To make multiple payments at one time, log in to Online Banking from a computer
- Enter the payment amount and date and choose which account you wish to pay from for each payee you wish to make payment to
- Scroll to the bottom of your payees list and choose "submit" to initiate payment to your payees
- Enter the payment amount and date and choose which account you wish to pay from for each payee you wish to make payment to
- Select the "Pay a Person" tab from the Bill Pay dashboard
- Choose to pay via the following methods
- Email: payee does not share account information with the payer
- Direct deposit: requires the payees routing and account numbers
- Check: requires the address of where to send the check
- Text Message: payee receives a text message to accept payment
- Email: payee does not share account information with the payer
- Complete the required fields
- Each new pay-a-person payment requires a new activation confirmation
Electronic payments will appear on your statement the date that you requested the payment to take place. Please allow 3-5 business days for electronic payments to complete.
Check payments will show on your statement when the check clears. Please allow 5-7 business days for the payments to reach the merchant and plan your payments accordingly.
Check payments will show on your statement when the check clears. Please allow 5-7 business days for the payments to reach the merchant and plan your payments accordingly.
Payments may be edited if they are still in the Pending Payments section. Select "Edit" to view, edit or delete a payment.
What is an eBill?
eBill allows you to automatically import due dates and amounts from third-party online billing statements and send an alert to you when it's time to schedule a payment. For example, you may want to set up your online cell phone or credit card account as an eBill inside the Bill Pay dashboard in order to view the payment amount and due date of your current bills and schedule a payment. eBill saves time from logging into each payees online account individually.
E-Statement
- Log in to Royal Bank Online Banking
- Choose Statements from the blue icons below or next to your account listing
- Choose the "Sign Up/Changes" tab on the following screen
- Select the account(s) for which you would like to receive e-statements
- Select "Save Changes" at the bottom of the screen
- Follow the prompts to continue
- Statements will begin to accumulate from the date of enrollment, starting with your next statement cycle
Sign up for E-Statements:
Will I continue to receive my paper statement if I sign up for e-statements?
How long will my e-statements be viewable online?
Do I have to have special software to access my e-statements?
How do I change the email address that my e-statements notifications are being sent to?
Can I withdraw participation in e-statements once I’ve been enrolled?
By enrolling in e-statements, you elect to exclusively receive your statements electronically. You can select which accounts you wish to receive e-statements for. Accounts you do not enroll will continue to receive paper statements via US Mail.
Once you enroll, e-statements will appear in your Online Banking account starting with the next statement date. Your electronic statements will be available to view for 18 months. Once they expire, you will no longer be available to view them in Online Banking. Contact your local branch if you require a statement that is no longer available in your Online Banking portal.
E-statements are accessible as PDF documents. You will need to download the latest version of Adobe Reader to view your e-statements.
Visit the e-statements page in your Online Banking account and select email settings. You can enter your new email address here.
Visit the e-statements page in your Online Banking account and deselect the account(s) you no longer wish to receive e-statements for. Please be aware that fees may apply as outlined in the Royal Bank current Fee Schedule. You can also contact us to request withdrawal from e-statements.
Mobile Wallet
How is it secure?
Unlike a traditional payment method, mobile wallets replace your card number with a unique code (or “token”) for each device. When paying with your Mobile Wallet, the merchant will receive your token and not your card number helping to keep your information secure. In addition, these payment methods require you to use your Touch ID thumbprint or a passcode to complete the transaction.
Unlike a traditional payment method, mobile wallets replace your card number with a unique code (or “token”) for each device. When paying with your Mobile Wallet, the merchant will receive your token and not your card number helping to keep your information secure. In addition, these payment methods require you to use your Touch ID thumbprint or a passcode to complete the transaction.
How do I add a card?
Download the mobile wallet app in your device’s app store. Some phones and tablets have a mobile wallet built-in to the device, so you may want to check to see if your device already has one. Once you’ve opened the app, enter your Royal Bank Credit or Debit Card information. Once the card has been approved for your device, you may begin making mobile payments.
Download the mobile wallet app in your device’s app store. Some phones and tablets have a mobile wallet built-in to the device, so you may want to check to see if your device already has one. Once you’ve opened the app, enter your Royal Bank Credit or Debit Card information. Once the card has been approved for your device, you may begin making mobile payments.
What do I need to get started?
You’ll need your Royal Bank Debit and/or Credit Card(s) that you’d like to add to your Mobile Wallet and the mobile device(s) that you’d like to add your debit or credit card to. If you have multiple devices that you’ll be paying with, you’ll likely need to set up your card on each device separately.
You’ll need your Royal Bank Debit and/or Credit Card(s) that you’d like to add to your Mobile Wallet and the mobile device(s) that you’d like to add your debit or credit card to. If you have multiple devices that you’ll be paying with, you’ll likely need to set up your card on each device separately.
How do I use my Mobile Wallet to pay for a purchase?
Pay by simply holding your device to the payment terminal and wait for payment confirmation. Most devices will require you to enter a thumbprint or a passcode to complete the transaction.
Pay by simply holding your device to the payment terminal and wait for payment confirmation. Most devices will require you to enter a thumbprint or a passcode to complete the transaction.
How do I return an item that I bought using my Mobile Wallet?
The cashier can use your Device Account Number to find the purchase and process the return, just as they would with a traditional credit or debit card payment. Depending on which Mobile Wallet provider you use, the Device Account Number should be located in your app settings.
How can I check my recent transactions?
When you view your card in your Mobile Wallet, you’ll see the last transaction for each credit or debit card.
What if I lose my phone, tablet or smartwatch?
Most phones, tablets and smart watches require a Touch ID thumbprint or passcode to access the device and to make a payment, so your Mobile Wallet should remain secure. You can also contact the bank to suspend or turn your card off until your device is located.
Can I continue to use my plastic card if I add it to my Mobile Wallet?
Yes! You can still use your plastic debit or credit card, even if you’ve set it up in your Mobile Wallet.
Health Savings Account
What are medical expenses?
Medical care expenses are defined as alleviating or preventing a physical or mental defect or illness. Consult with your tax advisor to confirm qualified expenses.
Medical care expenses are defined as alleviating or preventing a physical or mental defect or illness. Consult with your tax advisor to confirm qualified expenses.
How does a person become eligible?
To be eligible, a person must be enrolled in what the federal government has defined as a High Deductible Health Plan (HDHP). An HDHP has individual and family limits for deductibles and out-of-pocket expenses.
How do I access the funds?
Royal Bank customers will be provided with checks and a fee-free debit card. Transactions can be viewed in Royal Bank Online & Mobile Banking, just as with other deposit accounts, and a monthly statement will be generated. Consult with your accountant or tax preparer to see if itemized receipts should be kept and for how long.
Royal Bank customers will be provided with checks and a fee-free debit card. Transactions can be viewed in Royal Bank Online & Mobile Banking, just as with other deposit accounts, and a monthly statement will be generated. Consult with your accountant or tax preparer to see if itemized receipts should be kept and for how long.
What are contribution limits?
Visit www.treasury.gov for more information.
Visit www.treasury.gov for more information.